Saturday, August 18, 2012

Bike Ride to Yellow Springs... Again

Today Justin and I took a bike ride to Yellow Springs. If we had a truck to actually take the bikes to the parking area to start, it would be able 14 miles round trip. Since we don't, we rode from our house, which makes it about 20 miles round trip. Whew! My legs hurt!

I think it was about two weeks ago that we did this same trip, and my legs were sore then too. On the way there, it has a slight uphill feel. Of course the bike path is pretty flat, but you notice the little inclines when you are on a bike. The good thing is that it seems easier on the way back, after you've already rode half of your distance. So I like the ride back a little better.

We go, mostly, so we can eat at the Corner Cone. It's two short blocks from the bike station. I remember going there when I was a little kid and getting the kiddy cone with two candy eyes on it. When you're a kid, it just those small things that make life wonderful. I think lose some of that simple joy as I grow older. I try not to, but life just gets so darn complicated with work, school, a mortgage, etc. So when we were at the Corner Cone today, I made a point to slowly enjoy my chocolate dipped, chocolate-vanilla twist soft serve cone. I asked for a bowl, actually, so that I could just dump it over and eat it real slow. MMM! (Last time I was super sticky from the ice cream melting all over my fingers- see picture)


Apparently mine dipped perfectly the first time, but the attendant was having trouble with Justin's. The first cone dropped into the chocolate. Then the second one did too. It's like the suction from the chocolate pulled the ice cream out of the cone or something! So, they gave Justin this giant bowl of chocolate ice cream and then dumped a huge ladle (or two) of chocolate over top of it. And topped it with cone. Ha! It was seriously, probably four cups worth of ice cream. Justin almost finished it all. Almost.

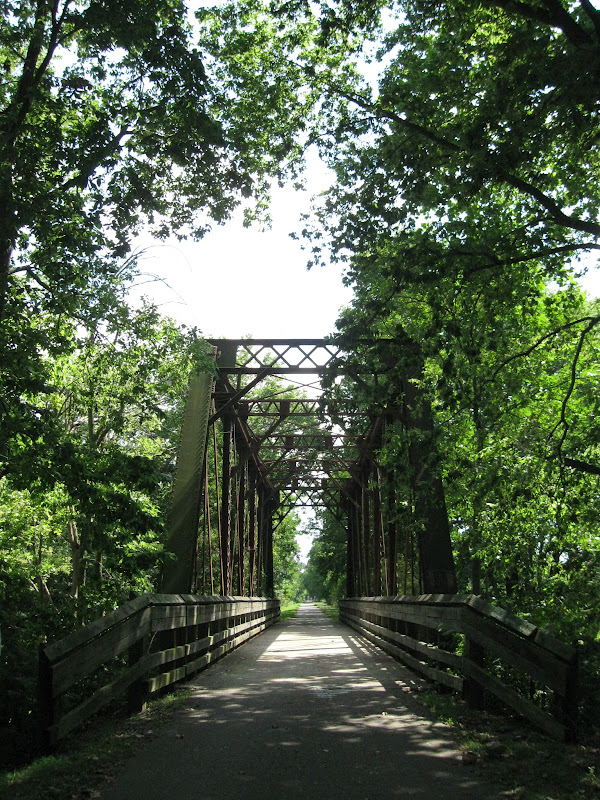
On the way back, there are a few great old bridges, but this one is one of my favorites. Something about it, the lines and structure, just mesmerize me. Or maybe it's the river below. Either way, it was a great Saturday with my hubby on the bike path.
Friday, August 17, 2012

Dani's so cute!

My little niece Dani, who is growing up so fast, is a joy the be around. I was able to see her a few times this summer, first, at my cousin Ashley's wedding, then at my cousin Tyler's wedding, and finally when they came to visit a few weeks ago. She is full of life and energy, and loves to learn. She's only a year and a half and she can already say things like "turtle" and "clock." She knows lots of words, plus all the animal sounds. That's a testament to my sister and brother-in-law reading to her all the time. Babies must be read to!

Today I thought I would post some of my favorite pictures of her. Isn't she precious?


She likes to try to put the cirles on her feet!

Thursday, August 16, 2012

School's starting soon!

Alas, my summer is almost over! I will be going back to the classroom to teach English in just a few days. I decided to sleep in today for one of the last times.

Now, there's no way I am complaining about my schedule. I'm not. Teachers who complain are just... well, we have it good. I realize that. But, the job is unique too, and there are many people who wouldn't last a day trying to teach a classroom of junior highers or high schoolers. So, to each his own. I've chosen teaching and I love it. The summer breaks are a good perk too, although I think I am ready to get back into the swing of a schedule.

Over the last week I have been going to school to work on my room since I have a new placement here in Ohio. One day a student worker in the tech department left me this office sculpture on the left. Pretty funny...

 I think I am pretty much ready. This year I haven't done too much in the decorating sense because a lot of my stuff is still stored in our Pack Rat container from moving. (As soon as we close on the house, I'll be able to get it delivered and unload my classroom stuff.) So I am missing some of that. What I did do is create trees with those big rolls of bulletin board paper by crunching it up and then taping it to the wall. Then I used fun colors for the leaves. I have several trees around the room and its kinda Dr. Seuss- like. Plus, of course I always have my graffiti-style welcome banner up in the middle of the wall. I even have purple curtains at the windows. For not having all of my regular stuff with me, I think the room looks pretty good.

Back to school night is tonight, so I hope that I get to meet a lot of parents and make some good connections. I still need to work on some of my lesson planning for the first unit, but I think I am going to do that from home.

Moving on to a different subject, all the contractor bids are finally in, and the appraisal has been ordered. Though it isn't officially scheduled yet, at least we are on the right track. The loan officer sent us 30 or so pages of documents to sign that starts all of the financial process. It's crazy how much a loan costs you over the life of all the payments.... it's like double what you actually pay for the house! That's why we are going to be paying extra on all of our payments- so we can save on interest. And our home is even really reasonable too- I don't know how people stretch themselves to get some of these really expensive houses. It's a bit overwhelming, but I am still confident that owning is better than renting!!

Thursday, August 9, 2012

Recovering an Occasional Chair

I've been having fun recovering chairs lately, and I did another one last night. This one we got for FREE, yes, free, at a garage sale. You can't beat that! Then I spent $7 for this awesome giraffe fabric at Walmart to cover it. This one was a little trickier than the previous chairs, because the bottom didn't detach. As you can see in the pictures, I had to cut a diagonal cut towards the corner before being able to secure the fabric with the staple gun. This was a bit irritating... I also folded the raw edge under before securing as well. I did the front and back first, then the sides, to make sure that the fabric went on in a smooth finish. I also added some stuffing to the seat because it was a bit flat.  On the back of the chair, I started at the bottom and secured fabric around the sides first. Then I tried to neatly staple a smooth layer over the very back. The staples were exposed, so I probably will try to keep the chair against the back of a wall. I don't think it looks too bad though... Again, I folded the raw edges under on this last step so the fraying edges aren't seen.

It gives the chair a completely different look. Now I just need a throw pillow!


Cut an angled line to the corner

Add stuffing

Attach bottom and sides first. This was tricky because the back was curved.
 Use folds to try to smooth the back. I hadn't done the final staples along the bottom in this picture.

Tuesday, August 7, 2012

Recovering Dining Room Chairs

The chairs I recovered tonight were yet another Craigslist find. We go a dining room table, a leaf, and four chairs for $25. What a steal!! Too bad the leaf doesn't fit exactly. I would still use it if I had a tablecloth though...

The chairs were covered in this dingy brown canvas-type fabric. Not very pretty. So I went to Walmart and got some $7-a-yard fabric to recover them. I wish I paid a little less, but it's the upholstery/home fabric, so I guess I can't complain too much. To recover all of them, I bought a 1 1/2 yards, about $10 worth. That's cheap for a new look, I think. At least, it's worth it to me!

Here's the process: First, I unscrewed the seat from the bottom. This is the easiest style to recover, for sure. I blogged about another chair I recovered here. Second, I cut fabric to fit over the padding and seat, with some extra on the sides. Third, I used a staple gun to secure the fabric in place. I found that doing parallel sides first worst best. Then you can fold the corners carefully and make sure that the fabric looks even without weird pulls on the fabric. (Hint: Don't use stripes or a pattern that has to be lined up perfectly. Prints work much better!)  Fourth, screw the newly-covered seat back on the frame. Sometimes I went through fabric on the back when I screwed it in, but this doesn't matter because no one can see the bottom. It was easiest to turn the chair upside down with the seat on my lap, that way I had the pressure to make sure the screws went in tight. This project took less than 2 hours! YESSSSS! (Much less than the clawfoot tub!)

All in all, I'm happy with the result. Since it is pretty neutral, however my dining room turns out, it should be able to fit!


Monday, August 6, 2012

Restoring a Clawfoot Tub: Part Three

It's been a long journey to get to this point. From sanding  to priming, it's a lot of work. But I think I am pleased with how the claw foot tub has turned out. Now, it is a little difficult to get the whole picture since it is upside-down still, but you can see most of the work.

After priming, we put two good coats of Sherwin-Williams Antiquity (SW 6402) onto the tub. The color is very unique and looks different depending on the lighting that it is in.


I also highlighted the balls that the claws are resting on in Antiquity as well as a stripe at the base. I think it makes it look a little more finished. We do need to scrub out the inside, so that will be a post for another day. I'm happy with how it looks now though!

Saturday, August 4, 2012

Restoring a Clawfoot Tub: Part Two

This tub is a piece of work!! But I think the work will be worth it... I think... After one session of stripping paint, Justin and I went back to work on it. We bought a square sponge sander, and I liked how that worked. He used sandpaper. He also used to scraper to go at the tough paint on one side of the tub. Through sweat and tears, we made progress. Justin was also able to get all the hardware off except for the drain. Not sure what we are going to do about that- it's stuck pretty good.

We washed it off with wet washcloth. Some places that I read said to use "trisodium phosphate" cleanser, but we didn't. Hopefully that doesn't mess anything up for us. Another source said that if paint stripper is used, you need to scrub the tub with and acid-based citrus cleanser to stop the emulsifier. Since didn't use stripper, we just stuck with a water on a washcloth.
We used two coats of Rust-oleum's Clean Metal Primer to coat the tub after taping off the edges. It was just a white color, but it gave us an idea of what the tub was going to look like. It didn't seem totally smooth, but I really don't think that the tub was made completely smooth in 1926. I mean, so of the marks are indentations in the exterior of the tub, so we aren't going to stress about it. They add character, right?
 Rust-oleum also has a Specialty Applicance Epoxy in a Silver/Stainless Steel color. We decided to use that for the legs to give a contrast with the main exterior of the tub. Plus, we will have fixtures in that same silver family, so hopefully it will pick up on that also. Now we have to let it dry for a bit before it is ready to put the final color on. And yes, we picked a fun color to be announced in a later post!
 Here is what the claw foot looks like finished. Should have changed the settings to be more clear, but hopefully you get get idea. More updates to come...

Friday, August 3, 2012

Greene County Fair 2012

Going to the fair is fun. Maybe not as fun as when you are little, when everything is just magical. But I still like going. Justin and I just walked around to see the animals and eat some fair food. I know it's so incredibly bad for you, but it is so good. I figure I only eat it once a year, so hopefully it doesn't cause any permanent damage. We started off by sharing some fries- just $3- which I thought was a pretty fair price (no pun intended). Then we let that settle a little before getting what we really came for, the funnel cakes. Justin and I both got ours with half chocolate, half regular powdered sugar. YUM!!!
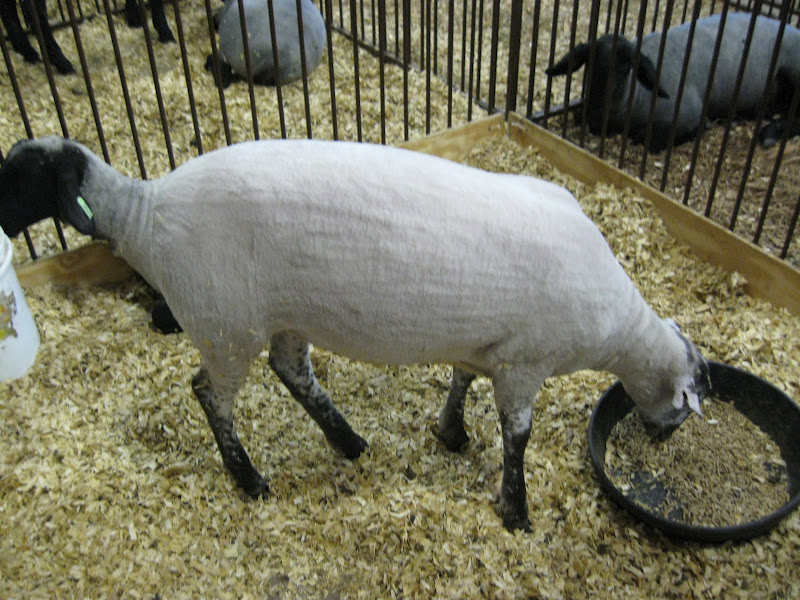
Of course we saw some animal too. The chickens are always fun to look at because of the varieties and colors. When we walked through the lamb and goat barn, it was funny because they really do all have different personalities. Some just sit, others are "baaaa-ing" at you long after you leave. I saw some of the most ginormous rabbits too, and some of the fluffiest I had ever seen. Truly, I could barely tell that one of them was a rabbit because it was so fluffy! We didn't  spend too much time with the others, but I snapped a few pictures still to show Dani, my niece, when I got home.

This fluffy mess is actually a rabbit... (above)
Poor thing is trying to stay cool (below)

Nothing like a llama and chickens at the fair...

I'll end with the funniest picture because it looks like the lamb has two heads-
one on each end- but it's actually two animals!

Thursday, August 2, 2012

Fun Summer Toenails

I've had quite a good time experimenting with my toenails this summer. The most recent is a green-and-yellow stripe combination. Normally I would think that green might be too weird for toenails, but I actually like this. And it's a lot easier than some of the other designs I tried because it is just lines.... though keeping the lines straight is a little difficult.


Well, on other topics, it's my birthday today. My sister, her husband, and my niece were up visiting my parents for the week, so they made me breakfast in bed. That was nice. I found a card from my husband also, and his present for me came in the mail. He ordered me a pink pocket knife to take when I run by myself. It is awesome. It's small, but I just like having one with me. He said I kept complaining about not being able to find the other one, so that's where he got the idea. Pretty observant, aye? I thought so.

In the house process, since the bank accepted our offer, now we are just in the process of finding contractors to do some of the renovation work. It's taking longer than we expected. We really wanted to have that done, because the actual financing can't be process until we have the bids, the contractors are approved, and the appraiser has his say on the property. Lots of steps on the Homepath Renovation Mortgage. But we are glad to be  getting a house, and at such a good deal. Later today, actually, I am going over to take another contractor through the house and see what their estimate would be. I am so itchy to get going!! I have all these plans but I can't actually do anything until we close, of course. I hope that this comes together pretty quickly so we can get moved in.

I think Justin and I are going to the Greene County Fair tonight. I always like the fair for some reason. Maybe it's the food...

Wednesday, August 1, 2012

Restoring a Clawfoot Tub: Part One

I am super pumped that Justin and I found a short tub that will fit in our new house. It's a four-foot long clawfoot tub built in the USA by Standard Sanitary Manufacturing in 1926. Almost 100 years old. The inside looks good but the outside needs work. It needs new fixtures too. This morning I started scraping old paint off  with a paint scraper and then switched to a wire brush. When that became ineffective, I used dad's wire sander, or whatever you call it. It seemed to do the trick for much of the side that will be visible in the bathroom.The other side, however, is still caked in several places with layers of paint. Not sure what I want to do with that. But after I worked on it about two hours, the sun was getting hot and I figured I could come back to it later. It's made a lot of progress, but it's not done yet. I need to do some research to figure out how to solve that problem. Here's what I got so far: